Skip to main content
Home
About Us
Clients
Capabilities
Work
Contact Us
Back to Work
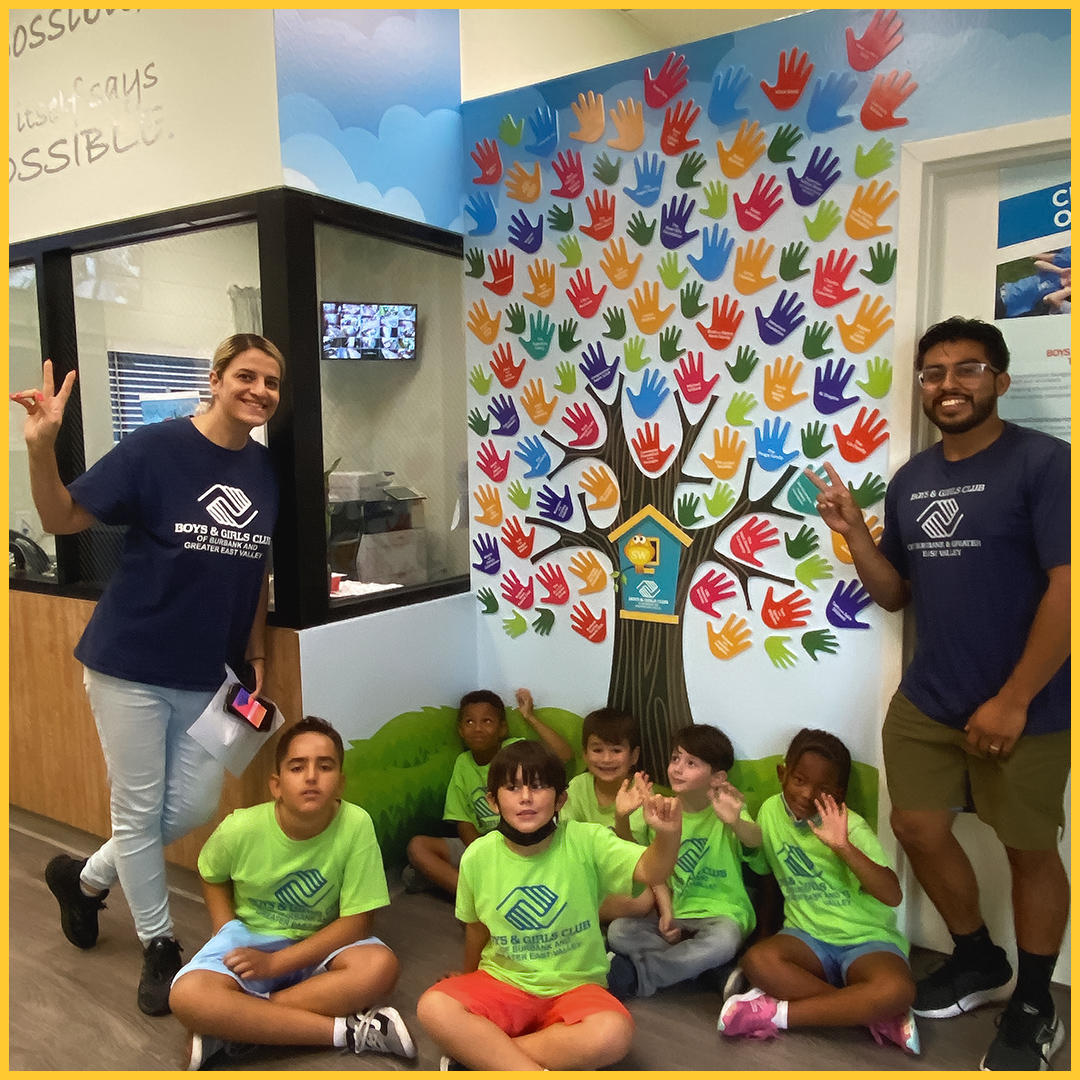
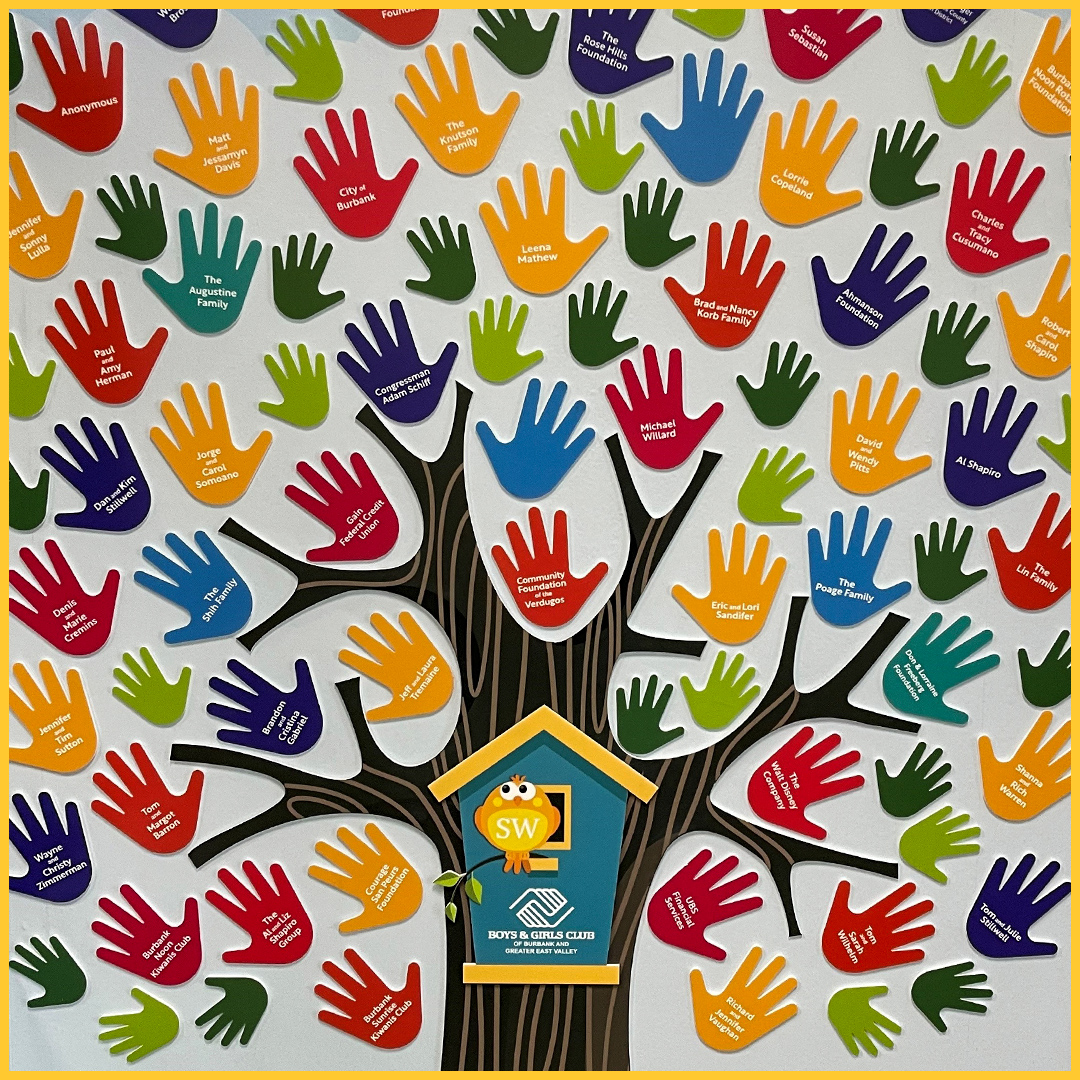
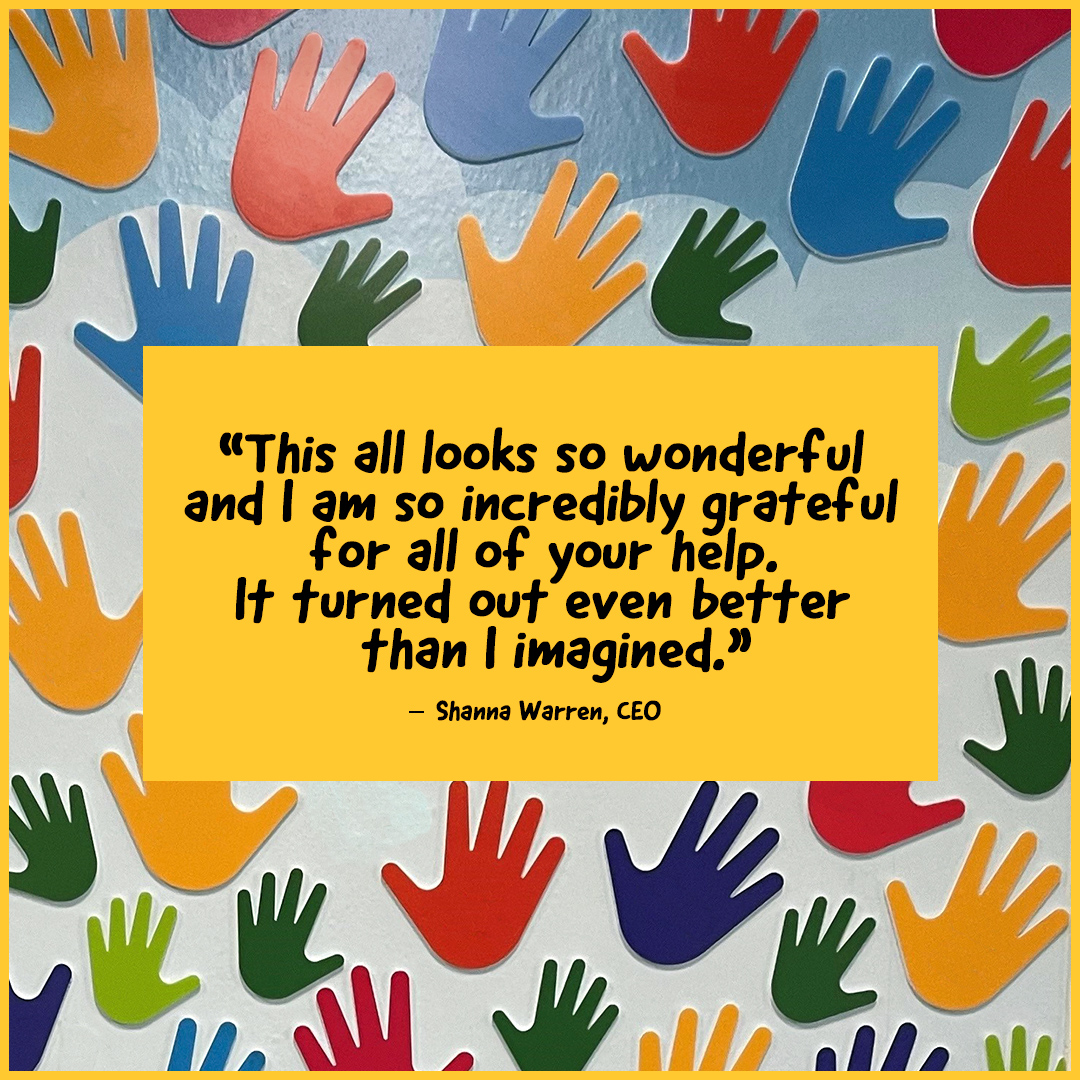
Donor Wall
Category:
Specialty